
How to face swap a video locally on PC or Mac
A convincing test frame can still fail across a full clip. The reliable workflow checks consent, hard frames, model storage, blending, export, and disclosure before the video is shared.
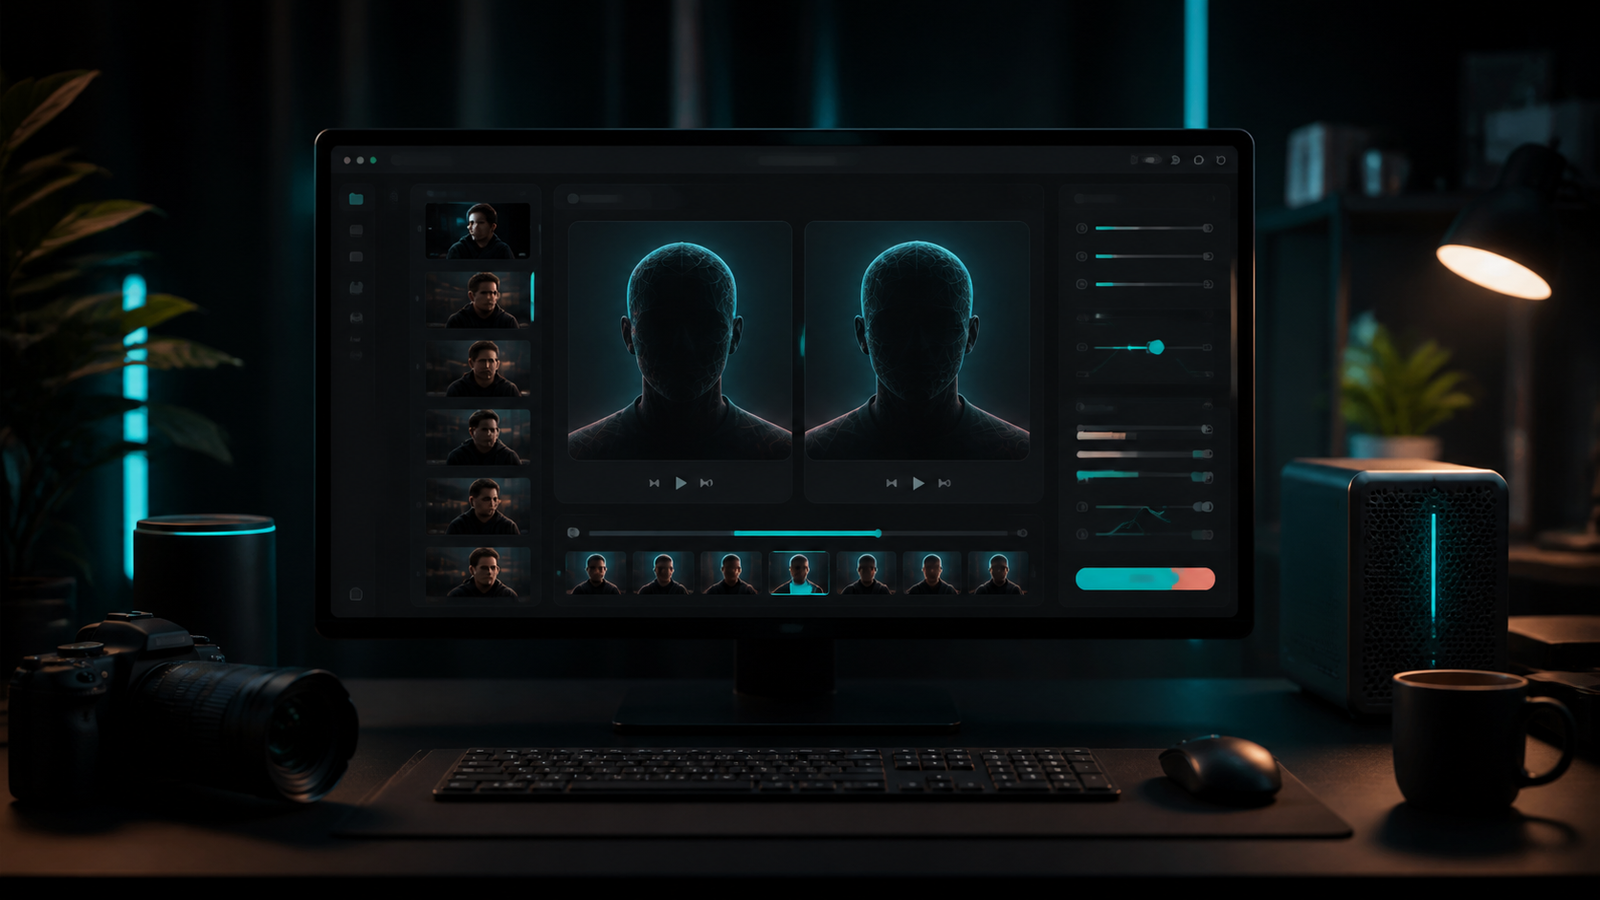
Video face swap is not one image repeated thousands of times. Every head turn, hand crossing the face, motion-blurred frame, lighting change, and cut creates a new tracking and blending problem. The fastest workflow is therefore not “render immediately.” It is “find the failure frames early.”
Deep Face Cam is built around a local desktop sequence: add source and target media, tune the swap, preview on your computer, then export or move to a live camera workflow. The same review method also applies to other local face swap software.
Before you begin
Use only media you own or have permission to alter. Decide how the result will be labeled before you start. Do not use face swap tools for impersonation, fraud, identity verification, harassment, or non-consensual intimate imagery.
1. Prepare the source face and target video
Pick a source portrait that is sharp, evenly lit, and close to front-facing. Avoid sunglasses, heavy hair occlusion, extreme expressions, and aggressive beauty filters in the first test. The target video should be a short representative segment, not the entire final export.
For the first pass, choose a clip that contains several of these conditions:
- a close-up and a medium shot;
- a left or right profile turn;
- a hand, microphone, or hair crossing the face;
- a lighting change or hard shadow;
- fast motion, a cut, or more than one visible face.
2. Install the app and confirm model downloads
Download the build for your operating system or build from the public source repository. On Windows, choose the CPU, DirectML, or CUDA path that matches the machine. On macOS, confirm Apple silicon or Intel support and the minimum system version.
Deep Face Cam does not place large model binaries in its source repository. Required files are downloaded into the user app-data directory only after confirmation and checksum verification. Complete this step before disconnecting from the network if the later media workflow needs to run offline.
3. Add source and target media
Add the source portrait, then choose the target video or test segment. Keep the original video in a separate read-only location. Use a dedicated output folder so previews, temporary files, and final exports are not confused with the source.
If the target contains more than one face, confirm which face is mapped before processing the full clip. Multi-face scenes should be tested separately because tracking can switch identities when subjects cross.
4. Preview the frames most likely to fail
Do not judge the result from the cleanest front-facing frame. Scrub to the hardest moments and preview them locally. Look for face-boundary flicker, skin-tone mismatch, eye and mouth artifacts, incorrect face selection, and loss of detail during motion.
| Frame type | What to inspect | Typical response |
|---|---|---|
| Profile turn | Jawline, ear boundary, face loss. | Reduce the test range or adjust alignment before export. |
| Occlusion | Hands, hair, glasses, microphones. | Check mask behavior and whether the original feature should remain visible. |
| Fast motion | Blur, flicker, tracking jumps. | Review several neighboring frames, not one still. |
| Lighting change | Color, exposure, edge contrast. | Use conservative blending and enhancement. |
| Multiple faces | Identity switching or wrong target. | Verify mapping for every subject before a long render. |
5. Tune alignment, blending, and enhancement
Change one control at a time. Alignment should solve position and scale before enhancement tries to add detail. Blending should make the face boundary less distracting without erasing the target scene's light and texture. Enhancement should be the final step, not a way to hide unstable tracking.
Save a repeatable configuration for clips from the same camera and lighting setup. A stable, slightly conservative result across the entire sequence is usually more useful than one perfect hero frame followed by visible failures.
6. Export a short segment, then review outside the app
Export the test segment and watch it at normal speed, half speed, and frame-by-frame around cuts or tracking failures. Check that audio, frame rate, dimensions, and duration still match the intended delivery. Only after this review should you process the complete video.
Keep the test export, settings, app version, and model version with the project notes. This makes a later correction reproducible instead of turning it into guesswork.
7. Label and store the altered video responsibly
Keep generated output separate from original footage. When the result is shared, label it as altered, synthetic, or face-swapped in a way the audience can understand. Preserve the permission record for real identifiable people and remove temporary media when the project no longer needs it.
Common video face swap mistakes
- Rendering the full video before testing profile turns and occlusion.
- Using a low-resolution, filtered, or strongly angled source portrait.
- Applying heavy enhancement before tracking and alignment are stable.
- Assuming a local app never needs a first-run model download.
- Mixing original files, temporary frames, and generated output in one folder.
- Sharing the result without consent or a clear alteration label.
FAQ
Can I face swap a video without uploading it?
Yes, with local desktop software. The core processing can happen on your computer. Initial installers, models, links, or update checks may still use the network, so confirm the exact tool's behavior.
Do I need a GPU for video face swap?
A CPU path may work, but a supported GPU can reduce preview and render time. Match the build and backend to your hardware rather than assuming every accelerator uses the same installer.
Why does a face swap look good in one frame but fail in motion?
Motion introduces blur, pose changes, occlusion, lighting shifts, and tracking continuity. Review a sequence of difficult frames and tune for consistency across time.
Build a repeatable local video workflow
Preview difficult frames first, keep the source media on your device, and export only after a short-segment review.